
Building our Dream Raised Bed Kitchen Garden
After over 20 years of gardening on my hands and knees, I finally won this battle. I knew it would take a few years to finally convince my husband that raised garden beds are the way to go. I was DONE with weeds and getting muddy when I wanted to just run out and grab some food for supper. The original garden where my cut flowers now grow is a bit far from the house and of course very mucky after a rain. It is a full-time job keeping the weeds at bay as well. Although it is great for the cut flowers, it really sucked running out there to grab a veggie for supper. So, we moved most of my veggies we consume on a daily basis, closer to the house and now in raised beds.
Raised Beds aren’t the end all be all either, there are pros and cons to growing your garden any way. Do whatever works for you right now with the budget you have. You will figure out as you garden what works for you and doesn’t and you will never have a perfect situation. What is more important is that you are getting that seed in the ground and growing some food now.
Advantages of Raised Beds
Longer Growing Season- the beds warm up and drain quicker so you can plant sooner.
Less Soil Compaction- no walking on the soil means less soil compaction.
Quality Soil- since you have to fill the beds, you can get high quality soil and not have to amend the soil you have.
Less Equipment Needed- no need for tractors or tillers
Easier on the Body- less bending, and you can adjust the height to your preference to meet your needs
They look beautiful and clean with less weeds
Disadvantages of Raised Beds
Costly and even more costly with quality hardwood like cedar. Pine will last around 5 years where cedar will last up to 20 years. I recommend cedar not only because it lasts longer, I don’t have to worry about it leaching any chemicals into the soil especially if you are growing food or herbs in them.
Permanent- it would be harder to switch your garden back to a plain old backyard if you change your mind, so be sure you like gardening before you go this route.
More Frequent Watering- raised beds dry out quicker so need watering sometimes daily during the really hot days.
Increased Risk of Disease Pressure- You want to make sure you are always rotating your crops so prevent disease. So raised beds can make it more challenging if you don’t have enough beds to do this.
If you are still all for raised beds, I’d love to share you our plans!
You can click here to purchase a download our Raised Garden Boxes
What to Consider While Planning your Garden Boxes
Size of Garden Box
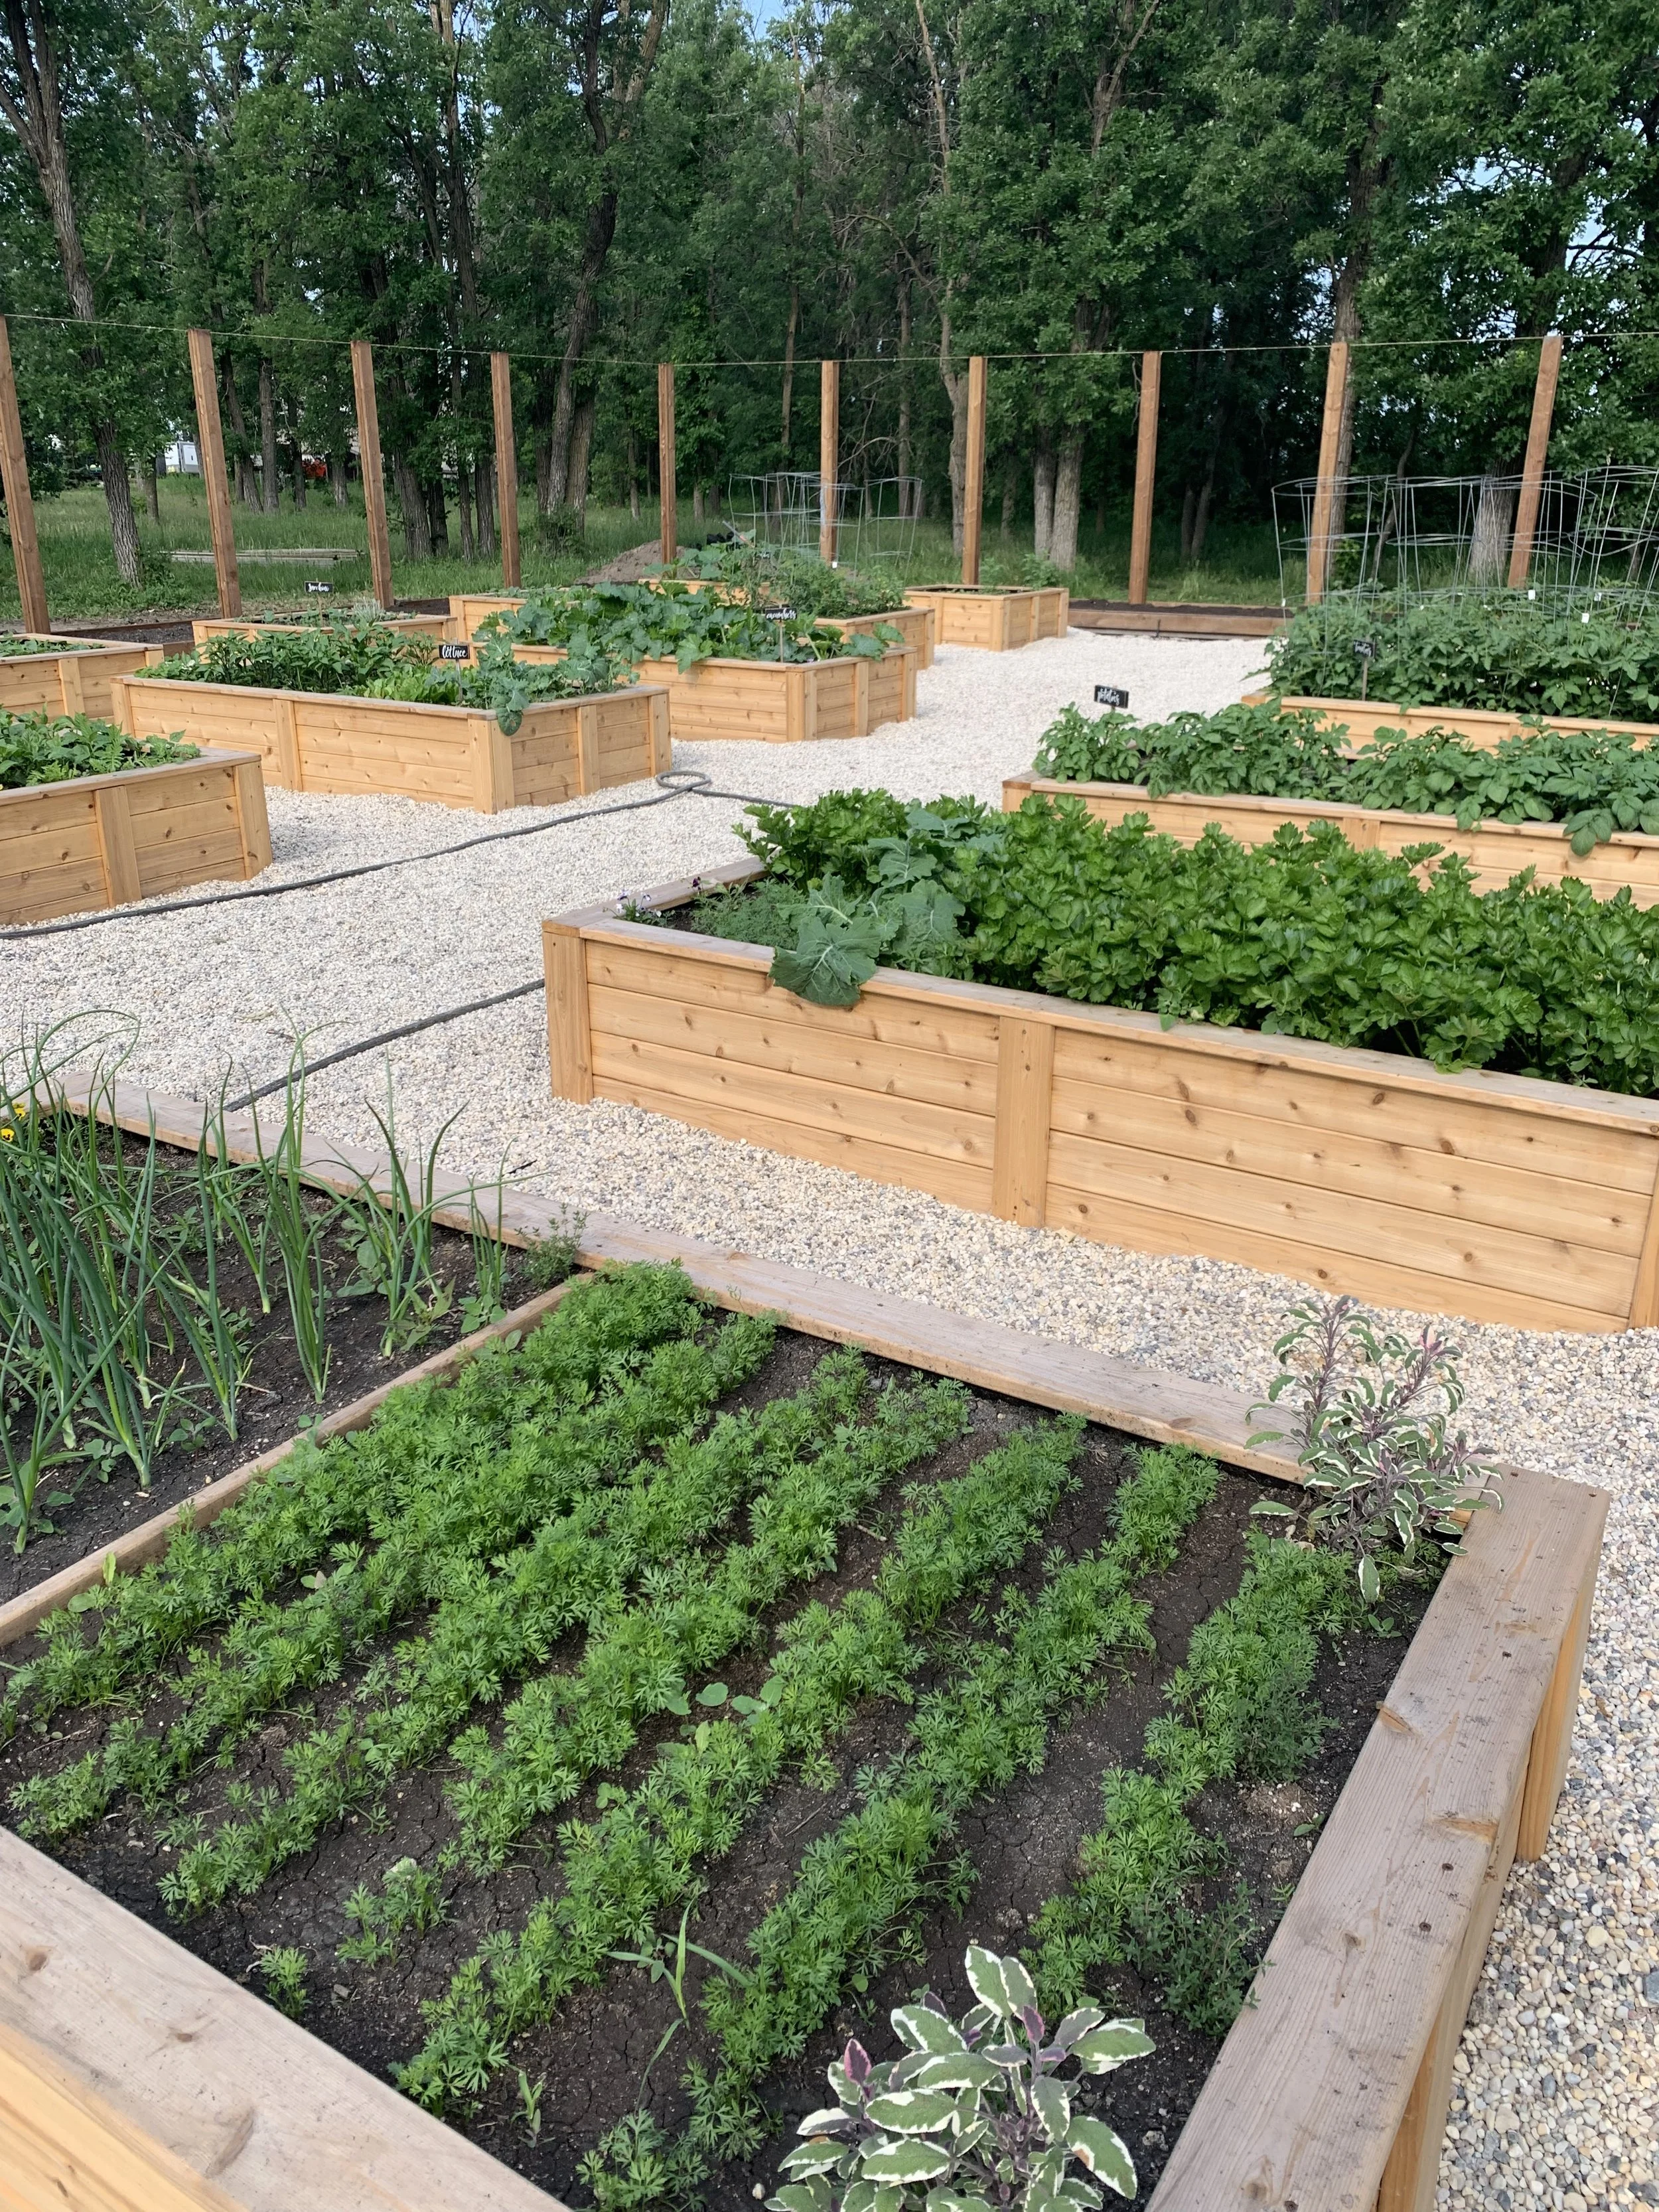
We made both 4x8 and 4x4 raised beds that were all 1 1/2 feet tall. The higher you go the easier it is on your back and I find this height is perfect.
I like 4 feet wide because you can easily access all sides of your garden bed without having to reach to far. If you have a bed up against a wall though I would suggest making your boxes not as wide since you can only access one side of the bed making it harder to reach all the way to the other side. 2 -3 feet wide may make more sense.
The length is completely up to you. We purchased 12 foot boards so making our beds either 4 feet or 8 feet prevents waste. But if you have a confined space then plan your length to however it fits on your plans.
Space Between Each Box
I would recommend at least 3 feet width between so you can easily walk around each one and sit or kneel between each box. You will also have an easier time fitting arch trellises between the boxes if you wish to attach it between 2 boxes. It is also nice to be able to pull a wagon or possibly a wheelbarrow between each box when weeding or collecting food. So think about that before putting down each box. If you only have 2 or 4 boxes then this isn’t as detrimental since you can access the outside of each box. Our boxes are 4 feet apart to make it a bit easier to move around each box with wheel barrows but it would be more of a challenge to buy arch trellis’s that will fit between, so decided if you are going to plan to add an arch trellis before. Our beds are spaced 4 feet apart but ours is an exception to the rules as we have a large space and we are installing custom made trellis’s that are a bit large which would not be practical for most back yards. So if you are only doing a few boxes I would recommend 3 feet.
Material to Build the Boxes
The two most popular materials used is metal and wood.
Metal is great and would last the longest but it also comes with a higher price tag. And once you start adding everything up from soil, gravel, etc, it can start getting really pricy. The metal also looks very modern which can be a bonus depending on your style. We actually purchased two metal ones close to the front entrance of our garden beds that are beautiful and painted white. I love them.
Wood is your second option and is cheaper if you build your own. I recommend using cedar since it isn’t treated so won’t leach poisons into your soil and cedar can last 20 plus years. We looked into alternatives to cedar, as the lumber store has new treated lumbar now available that doesn’t have arsenic in it but I’m still not convinced this lumber is safe for growing food in so I would stick to what we know, and we know untreated cedar is safe.
I have found the local lumber stores are not carrying 2 x 6 cedar lumber anymore which is what we would have normally built the beds with so instead we bought top grade 1 x 6 cedar boards and made reinforcements around it and inside to make sure it will hold up. It actually looks beautiful too.
To extend the life of your wood garden boxes you can also use a natural sealer to paint on the wood. Again, make sure it is non toxic since you are growing food.
I found a product from Lee Valley called Tried and True which is made of linseed oil and beeswax. I didn’t get a chance to apply it in our first season but we will applying it this year..2024.
What to use Between the Garden Boxes
I would use either wood mulch or gravel between each box and use a landscape cloth underneath to prevent weeds from growing. I like gravel best since the wood chips will eventually break down and weeds will then grow in it. Pea gravel is my favorite so it’s easy on the knees and butt when you are having to sit and kneel.
Irrigation
The last thing on our list is irrigating the beds. We currently are watering manually by hand as we are still in the building mode. But eventually I would like to consider irrigating the raised beds with drip lines. When we cross that bridge I will be sure to share this with you, but for now a hose and sprayer is what we are doing.
Check out the beginnings of the kitchen garden on you tube below. This video is from 2023. I give you a quick tour of what we are growing in our boxes in the early season. I will also be updating everyone later as the plants mature.